For centuries, people around the world have built strong, comfortable, and sustainable homes from one of the most abundant materials on Earth — mud. From the Maasai huts of East Africa to the adobe homes of Mexico and the cob cottages of England, mud huts have stood as timeless examples of harmony between humans and nature.
In today’s world of rising construction costs and environmental concerns, many are rediscovering this ancient art. If you’ve ever dreamed of creating your own simple, eco-friendly shelter, this guide walks you through how to build a mud hut step by step, even if you’re a complete beginner.
What is a Mud Hut?
A mud hut is a simple, traditional dwelling made primarily from mud, clay, and other natural materials like straw, grass, or cow dung. It’s one of the oldest types of human housing and is found in many parts of the world, especially in Africa, Asia, and Latin America.
Why Build a Mud Hut?
Before diving into the process, it’s worth understanding why mud huts continue to be built today — not just as historical curiosities, but as practical homes with real benefits.
Eco-Friendly and Sustainable
Mud huts are made almost entirely from natural, locally sourced materials — mud, straw, sticks, grass, and water. This reduces the need for energy-intensive materials like cement or steel and minimizes your carbon footprint.
Low-Cost Construction
Since most materials can be found right in your area, the total cost of building a mud hut is a fraction of traditional construction costs. Labor is also reduced, especially when community members build together.
Naturally Insulated and Comfortable
The thick, earthen walls act as a natural thermal regulator — keeping the inside cool during hot days and warm during chilly nights. This makes mud huts ideal for tropical and semi-arid regions.
Easy to Repair and Maintain
Cracks or damage can be easily repaired with more mud. Unlike concrete structures, maintenance is quick, inexpensive, and requires no special tools.
Planning Your Mud Hut
Before getting your hands dirty, spend time on planning. The right location, layout, and materials will determine your hut’s strength and longevity.
Choose a Suitable Site
Pick an elevated area to prevent waterlogging during rains. Avoid low-lying or flood-prone zones. The site should have:
- Good drainage
- Access to water (for mixing mud)
- Shade or tree cover (optional, but helps during construction)
Determine the Size and Shape
Start small. A beginner-friendly hut might be 8–10 feet in diameter and about 7–8 feet tall.
Round or oval shapes are the easiest to build and strongest structurally, since they evenly distribute pressure and resist strong winds.
Gather Tools and Materials
Most of what you need is simple and natural:
Materials:
- Clay-rich soil or mud
- Straw, dry grass, or animal dung (for binding)
- Water
- Wooden poles, bamboo, or tree branches (for the frame)
- Thatching grass, palm leaves, or reeds (for roofing)
- Stones (for the foundation, optional)
Tools:
- Spade or shovel
- Bucket or container for mixing
- Rope or twine
- Knife or machete (for cutting grass and poles)
- Wooden trowel or your hands (for plastering)
Step-by-Step: How to Build a Mud Hut
Step 1: Prepare the Foundation
A strong hut starts with a strong base.
- Mark your circle using a stick and string (for an even round shape).
- Dig a shallow trench about 6–8 inches deep and 1 foot wide around the perimeter.
- Fill the trench with stones or compacted earth to create a solid foundation.
- If you’re in a rainy area, add a small stone plinth or a layer of compacted gravel to improve drainage.
This prevents erosion and helps the walls stay dry and sturdy.
Step 2: Build the Wall Frame
The wall frame provides structure and support for the mud.
- Collect straight wooden poles or bamboo about 6–8 feet long.
- Fix them vertically into the trench, spaced 12–18 inches apart around the circle.
- Use twine, vines, or rope to tie horizontal supports (cross beams) between the poles — creating a woven pattern, like a basket.
This frame acts as the skeleton of your hut, ready to be covered in mud.
Step 3: Prepare the Mud Mixture
This is where the magic happens — turning simple soil into strong, moldable building material.
Basic mud mixture formula:
- 3 parts clay soil
- 1 part sand or fine gravel
- A handful of straw, grass, or cow dung (to bind the mix)
- Enough water to make it moist but not runny
Mix it well by treading with your feet or using a shovel until it reaches a sticky, dough-like consistency.
💡 Pro tip: If the mud cracks when drying, add more straw or dung; if it feels too soft, add more clay.
Step 4: Apply the Mud to the Frame
Now you’ll bring your walls to life.
- Start from the bottom and press handfuls of mud onto the wooden frame, packing tightly to eliminate air gaps.
- Layer the mud upward, working around the structure in circles so the wall dries evenly.
- Keep wall thickness between 6–8 inches for good insulation and strength.
- Leave small gaps for doors or ventilation windows.
Let each layer dry slightly before adding the next. This prevents sagging and cracking.
Step 5: Smooth and Strengthen the Walls
Once the basic wall is up:
- Smooth the surface with wet hands or a trowel for a neat finish.
- When it’s semi-dry, apply another thin coat of fine mud mixed with straw or cow dung to seal cracks.
- Allow the walls to dry completely for at least 3–5 days, depending on the weather.
In some regions, builders polish the final layer with a mixture of ash, clay, and water — giving the wall a glossy, waterproof texture.
Step 6: Construct the Roof
The roof is one of the most important parts of the hut, protecting it from rain and sun.
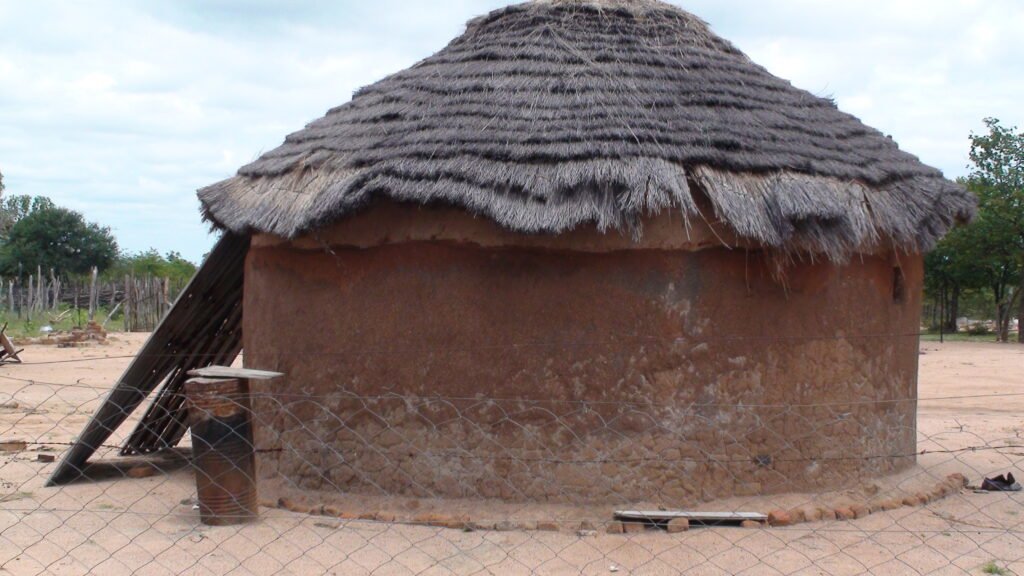
Option 1: Thatched Roof
This is the most traditional and natural type of roofing.
- Place a strong central pole (the “king post”) in the middle of your hut.
- Connect it to the wall tops using wooden beams, forming a cone shape.
- Tie bundles of dry grass or reeds starting from the bottom and layering upward, overlapping each bundle to prevent leaks.
A well-thatched roof can last 5–10 years with minimal maintenance.
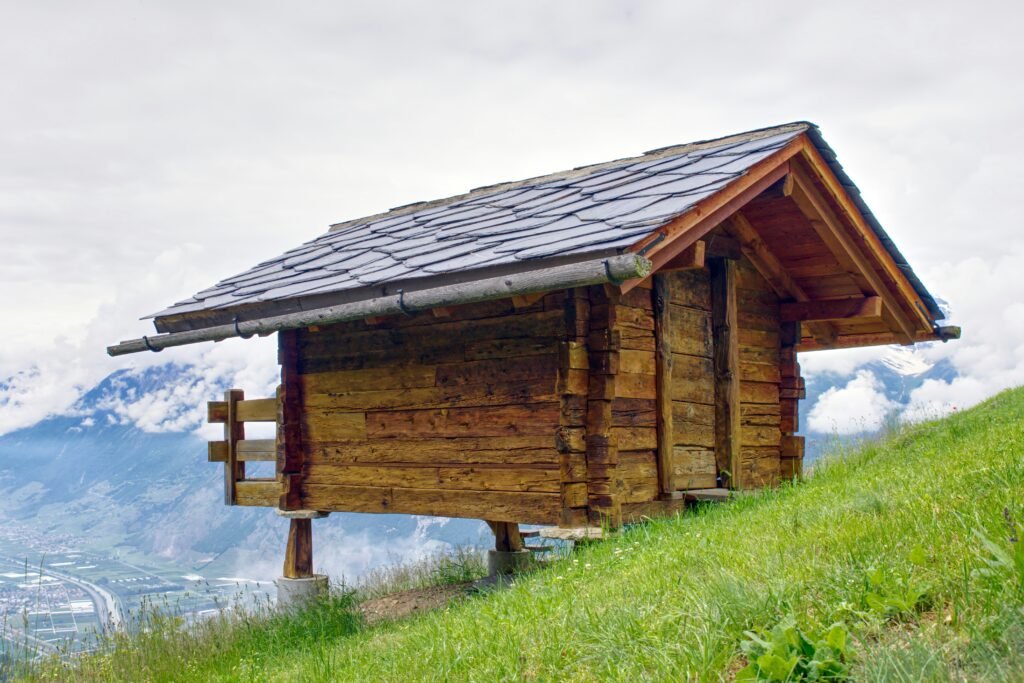
Option 2: Mud and Stick Roof
In drier climates, people use flat roofs made from sticks covered with mud.
- Lay a grid of strong branches across the top of the walls.
- Spread a layer of straw, then cover it with thick mud.
- Slope the surface slightly for rainwater runoff.
Step 7: Finishing Touches
- Doors and Windows:
Install a simple wooden doorframe before the walls fully dry. For windows, small square holes with wooden shutters are enough for ventilation. - Flooring:
Compact the ground inside the hut and plaster it with a mud-and-cow-dung mixture. When dry, it becomes smooth, clean, and surprisingly durable. - Waterproofing:
To improve rain resistance, apply a thin coat of mud mixed with lime or ash on the exterior walls. - Decoration:
Many traditional builders decorate huts with geometric patterns, paint, or handprints using natural dyes.
Maintenance Tips for Your Mud Hut
Mud huts are easy to maintain — that’s one of their biggest advantages. Here’s how to keep yours strong for years:
- Inspect after heavy rain: Patch small cracks immediately with fresh mud.
- Re-thatch or patch the roof every few years.
- Apply a new layer of mud plaster annually, especially before the rainy season.
- Keep vegetation trimmed around the hut to prevent moisture damage.
If properly cared for, a mud hut can last 20 years or more.
Modern Adaptations of Mud Huts
While mud huts are ancient, modern builders are giving them new life with creative adaptations.
1. Mud + Cement Composites
Some use a mixture of mud and a small amount of cement to increase durability while maintaining natural insulation.
2. Stabilized Earth Bricks
Mud bricks (adobe) are made using molds, dried in the sun, and stacked like conventional bricks — combining traditional material with modern technique.
3. Eco-Tourism and Sustainable Living
Many eco-lodges, yoga retreats, and sustainable communities now use mud-hut designs for guest houses. The natural texture, organic curves, and earthy scent create peaceful, grounded living spaces.
Safety and Environmental Considerations
Building with mud is generally safe, but here are a few key reminders:
- Test your soil — too sandy or too clayey mud will affect strength. Aim for a balanced mix.
- Avoid termite-infested wood for your frame.
- Add a proper roof overhang (at least 1 foot) to prevent rain from washing down walls.
- Raise the base slightly above ground level to prevent flooding.
- Always let the structure dry fully before occupying to avoid dampness or mold.
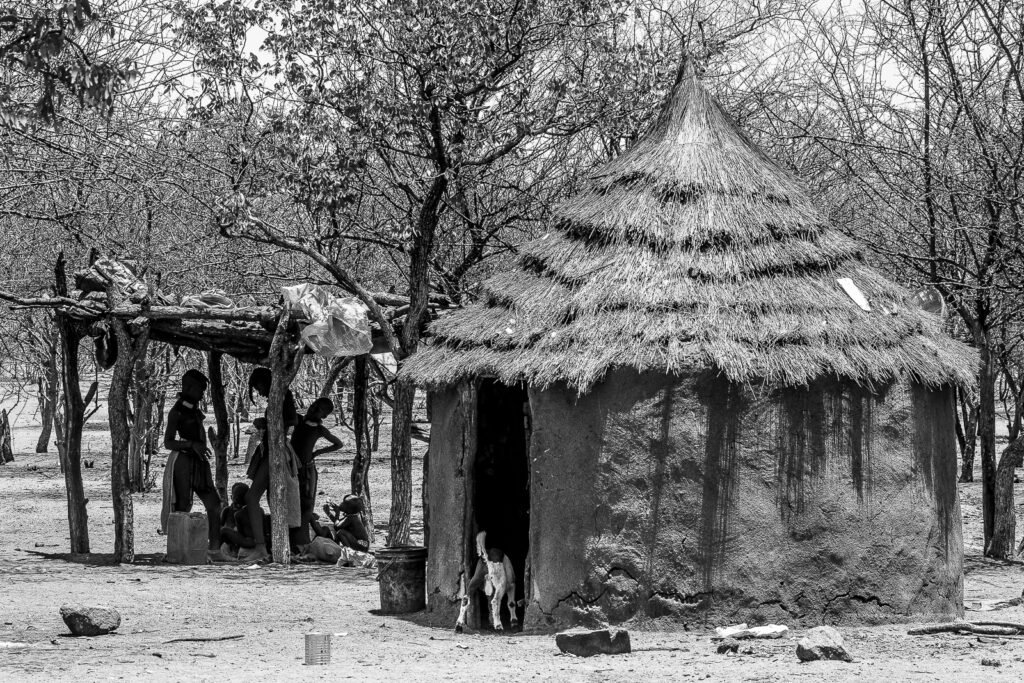
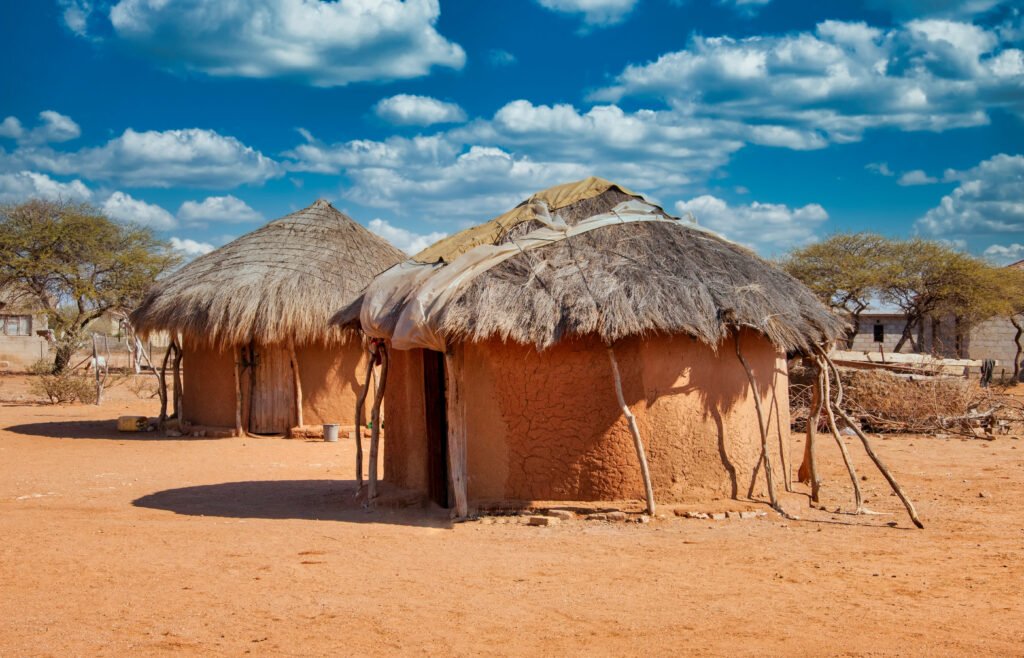
Cultural Roots: Mud Huts Around the World
Mud huts aren’t unique to one culture — they’re a universal human tradition.
- Africa: Round thatched huts (rondavels, enkaji) made from mud, cow dung, and grass.
- India: Cob and clay homes plastered with cow dung for cooling and sanitation.
- Latin America: Adobe homes in Mexico and Peru, often multi-story with thick earthen walls.
- Middle East: Ancient mud-brick cities like Shibam, Yemen — some over 500 years old.
Despite cultural differences, all share the same philosophy: using local materials to live sustainably and comfortably.
Pros and Cons of Building a Mud Hut
| Pros | Cons |
| Environmentally friendly | Requires protection from heavy rain |
| Extremely low cost | Needs regular maintenance |
| Naturally insulated | Not suitable for very cold, wet regions |
| Easy to repair | Limited multi-story potential |
| Culturally and aesthetically rich | Takes time to dry and cure |
In most climates, the pros far outweigh the cons — especially for those seeking simple, sustainable housing.
Conclusion
Building a mud hut isn’t just about creating shelter — it’s about reconnecting with ancient wisdom and sustainable living. With your hands, patience, and a few natural materials, you can create a space that breathes, regulates temperature, and blends beautifully into its environment.
Whether you’re a student of architecture, an eco-builder, or someone simply curious about traditional construction, learning how to build a mud hut offers a humbling lesson: nature provides everything we need — if we learn to work with it, not against it.
So gather some clay, call a few friends, and start shaping your first wall. You might just find that mud-building is not only practical — it’s deeply rewarding.
Frequently Asked Questions (FAQs)
1. How long does it take to build a mud hut?
A small mud hut can take anywhere from one week to one month, depending on its size, materials, and the weather. Drying times may vary by climate.
2. How durable is a mud hut?
With proper maintenance, a well-built mud hut can last 20–30 years. Periodic re-plastering and thatching ensure long life.
3. Does a mud hut stay cool in hot weather?
Yes. Mud walls naturally regulate temperature, keeping interiors cool during the day and warm at night — perfect for tropical climates.
4. How can I waterproof my mud hut?
Use a mixture of lime, ash, or cow dung in the final plaster layer. Also, ensure your roof has a generous overhang to keep rain off the walls.
5. Can I build a mud hut in a cold or wet region?
Yes, but you’ll need to stabilize the walls (e.g., with lime or cement) and build a raised foundation and wide roof to handle moisture.
6. What are the main advantages of mud construction?
It’s eco-friendly, affordable, low-maintenance, and promotes sustainable architecture using local materials.
![Jamaican Huts: History, Origin, and Step-by-Step Construction Guide [2026]](https://hutpost.com/wp-content/uploads/2026/01/jamaican-huts-1024x837.jpg)