
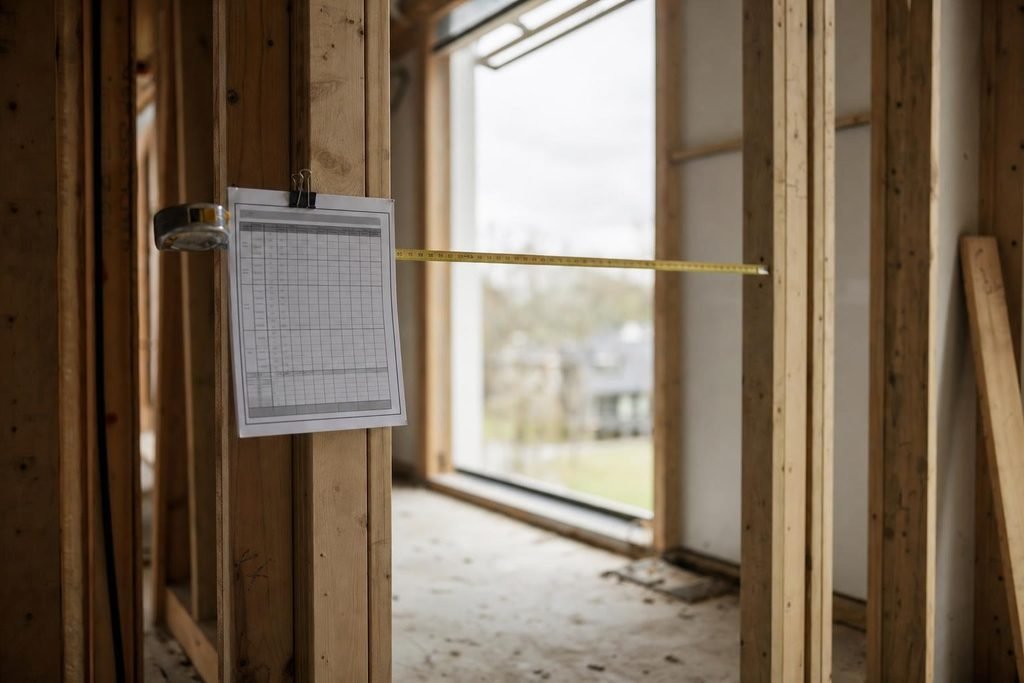
A door that sticks, gaps, or refuses to latch often has less to do with the door slab and more to do with the wall opening. If the rough opening is sized and checked correctly, the frame sits square, shims have room to work, and the door is more likely to swing cleanly for years.
This guide explains common door sizes in India and the United States, the code cues worth knowing, and a measurement-first workflow for new framing or replacement work. Wherever a number appears in inches, a rough millimetre conversion follows so both measurement systems stay clear.
The vocabulary that prevents mistakes
Three terms cause most of the confusion, so it helps to separate them before measuring anything.
The door slab is the bare panel with no frame. A prehung unit is that slab already hung on hinges inside a finished frame, ready to set into the opening. The rough opening (RO) is the raw structural gap in the wall, measured stud to stud on the sides and floor to header at the top. The finished opening is what you see once the jambs are installed, measured jamb to jamb.
Manufacturers such as Masonite define the rough opening as the stud-to-stud, floor-to-header structural space that must accept the frame and shims. On a replacement, pull the casing back if you can. Seeing the actual studs and header removes guesswork that a plastered finished opening can hide.
Standard sizes at a glance
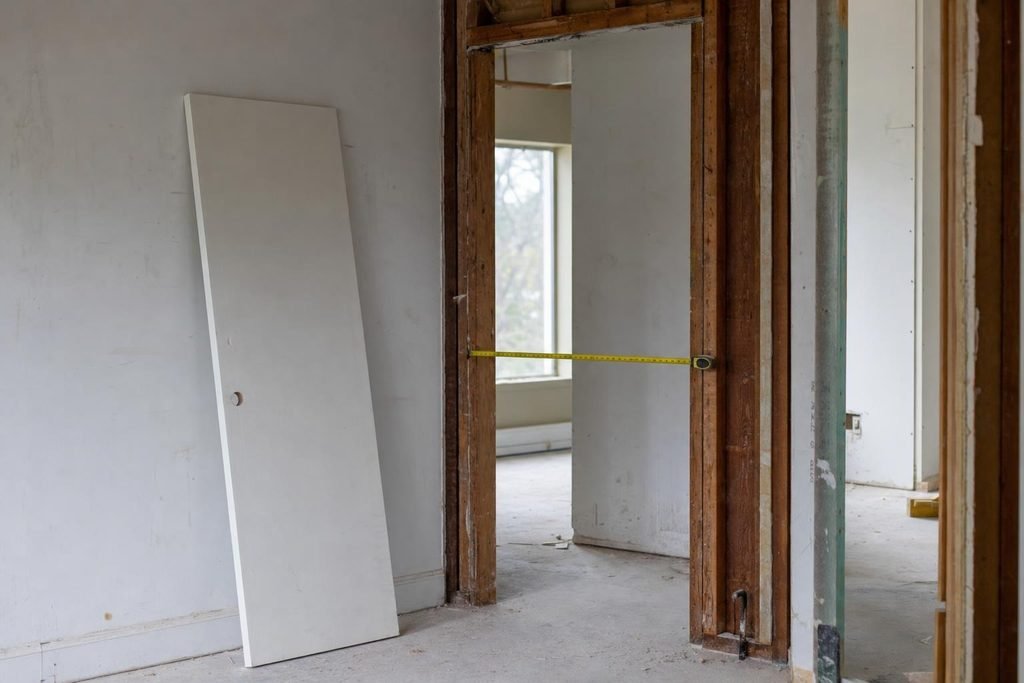
Standard sizes are a useful starting point, but treat them as slab dimensions, not rough openings. Always confirm the exact unit against its own spec sheet.
In India, interior doors commonly run around 2100 mm tall by 900 mm wide (roughly 83 by 35 inches), though 750 mm and 800 mm widths are common for bathrooms and utility spaces. Accessibility guidance that mirrors the National Building Code (NBC India) calls for a minimum clear opening of 900 mm for doorways meant to be accessible.
In the United States, interior door slabs are typically 80 inches (about 2032 mm) tall, with common widths of 24, 28, 30, 32, and 36 inches (roughly 610, 711, 762, 813, and 914 mm). Front entry doors are often 36 by 80 inches. A 36-inch width is about 914 mm.
- India interior, common: about 2100 mm by 900 mm (83 by 35 in)
- India accessible clear width: at least 900 mm per NBC-aligned guidance
- US interior slabs: 80 in tall; 24 / 28 / 30 / 32 / 36 in wide
- US entry doors: commonly 36 by 80 in
These are the panels people buy off the shelf. The wall opening has to be larger to make room for the frame and adjustment.
Where code actually matters
Code language is worth knowing, but it usually governs the clear opening of a finished door, not the rough opening you frame. Use these figures as context and confirm the current requirement with your local authority.
In the United States, the International Residential Code (IRC U.S.) requires at least one side-hinged egress door with a clear opening width of at least 32 inches (about 813 mm) and a clear height of at least 78 inches (about 1981 mm). Other exterior doors are generally not held to the 32-inch clear width but still often need to meet the 78-inch height, depending on the jurisdiction.
Clear width is measured with the door open 90 degrees, from the face of the stop to the face of the door, so it is always narrower than the slab width. That distinction matters: a 32-inch clear opening usually needs a wider slab and a wider rough opening than the number alone suggests.
In India, accessibility guidance echoing NBC 2016 sets a 900 mm minimum clear width for accessible routes. Requirements vary by jurisdiction and building type, so confirm what applies before framing or ordering.
How manufacturer charts translate to your opening
Every door manufacturer publishes rough-opening guidance, and that number should take priority over a rule of thumb. Installation guidance from Pella, for example, notes that rough openings are typically sized to the frame width and run roughly half an inch to one inch (about 13 to 25 mm) taller than the frame, with extra room added for flashing where an exterior door needs it.
There is also a naming detail to watch. Some fiberglass and vinyl units are described by nominal frame sizes that already equal the rough opening for a single unit, while clad and wood products may be listed by actual frame size. In plain terms, one chart may give you the opening directly while another expects you to add clearance yourself. Read the chart’s definitions before you cut.
Step by step: measure and check your opening
Whether you are framing new or replacing an existing unit, the sequence is the same. The rough opening is the stud-to-stud, floor-to-header structural gap, so start by exposing that structure. On a replacement, pull the casing back so you can measure real framing rather than plaster or trim.
Before you frame or order a prehung unit, run through a concise door rough opening checklist that confirms width, height, plumb, square, and the shim space you will need. That way, the problem is caught before the unit is on site.
- Expose the structure. Remove casing if needed to see studs and header.
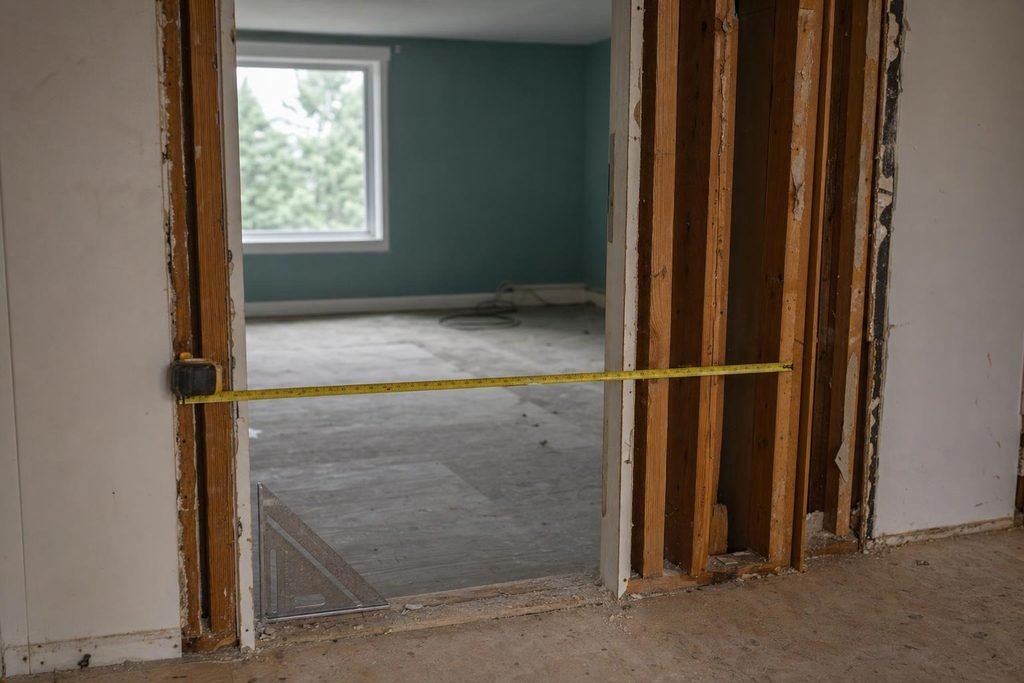
- Measure width in three places: top, middle, and bottom. Record the smallest number.
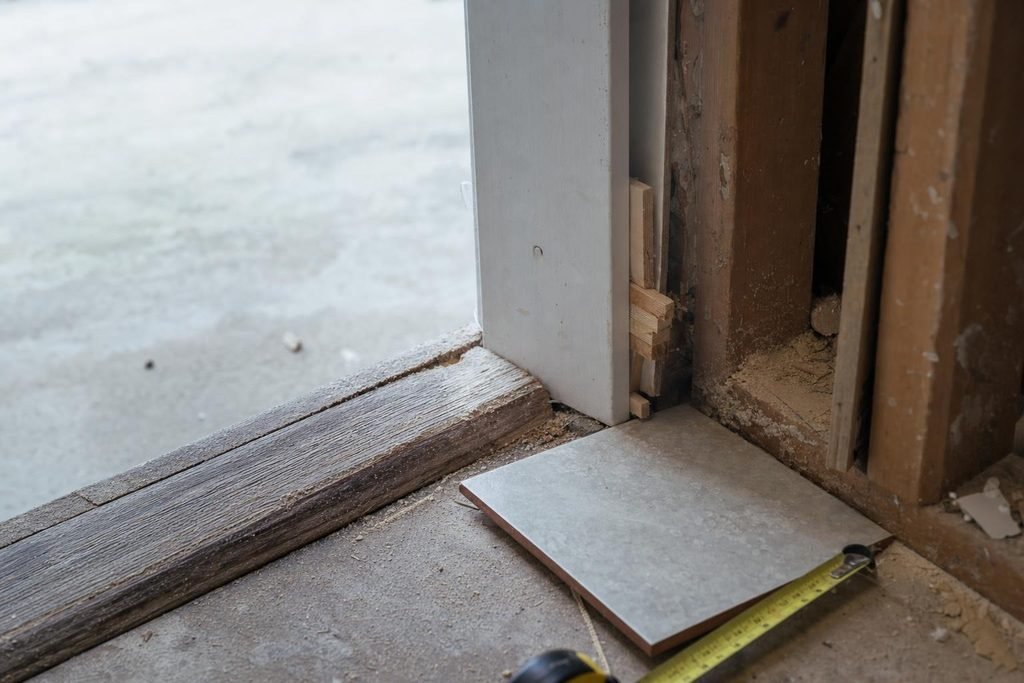
- Measure height in three places: left, middle, and right. Use the smallest number, and account for finished-floor build-up such as tile that will raise the sill.
- Measure depth: check the wall thickness so the jamb depth matches.
- Check plumb, level, and square. Compare the two diagonals; equal diagonals mean the opening is square. Confirm the sill is level.
- Compare shim space against the spec. Subtract your frame size from the opening and confirm there is room to adjust.
- Confirm swing and handing. Make sure nothing blocks the door’s arc.
Recording the smallest measurement in each direction keeps a slightly bowed stud from surprising you at installation time.
Rules of thumb, and when to set them aside
Experienced carpenters often plan a rough opening roughly 2 to 2.5 inches (about 51 to 64 mm) wider than the slab to allow for jambs and shimming, with a slightly taller opening for leveling. For prehung units, a common instruction is to frame the opening about half an inch to one inch wider and taller than the whole unit.
For example, a 36 by 80 inch slab (roughly 914 by 2032 mm) often lands around a 38 by 82 to 82.5 inch opening (about 965 by 2083 to 2096 mm) once jambs and shims are accounted for. Use that as a quick reasonableness check, not as a final dimension.
These allowances break down when you move to multi-panel doors, sidelites, transoms, pocket frames, or bifold systems. None of these follow simple slab-plus-two math. When a unit differs from a plain single door, use the manufacturer chart.
Special cases in one place
A few common configurations deserve their own notes because their openings differ sharply from a standard hinged door.
- Pocket doors: For a standard single pocket frame, the rough opening width equals the door width times two plus 2 inches, and the height equals the door height plus 4.5 inches (about 114 mm), per Quanex frame guidance. The doubled width makes room for the door to slide fully into the wall.
- Patio gliders: These are specified as complete units. Andersen 100 Series gliding patio doors, for instance, are listed to fit a 6 foot 0 inch by 6 foot 8 inch rough opening (about 1829 by 2032 mm).
- Bifold and closet kits: Follow the kit’s own chart, since track hardware changes the required opening.
- Thick flooring or new tile: Raising the finished floor can reduce the under-door gap. Shim jambs to preserve an appropriate air gap under the door, commonly around 10 to 13 mm, and confirm local ventilation norms where they apply.
Ordering and site-prep checklist
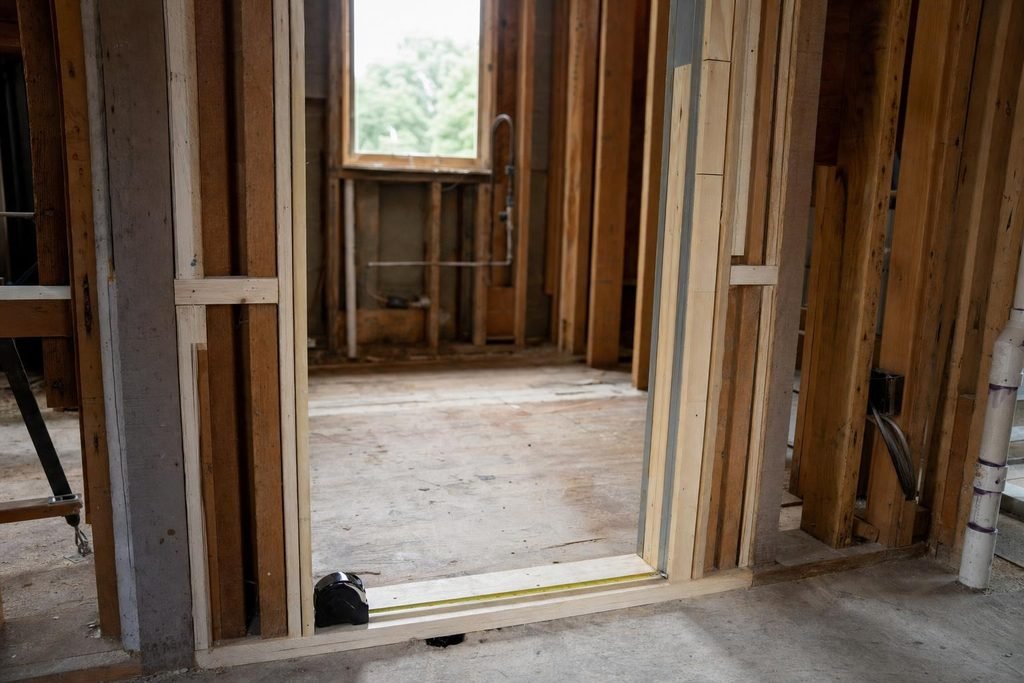
Once you have measured, the ordering stage is about matching numbers to the specific product, not to a generic table. Use standard interior door sizes for early planning, then align your measured rough opening to that unit’s rough-opening chart and check the practical fit.
- Confirm jamb depth against the actual wall thickness.
- Plan headroom above the opening and the threshold detail below.
- Decide where shims will sit, especially near hinges and the strike.
- For exterior doors, confirm flashing and a sill pan before the unit goes in.
If you want a general process reference before framing, a step-by-step measuring guide from Doors for Pros can serve as a broad preflight resource rather than a source of specific dimensions.
Common pitfalls and quick fixes
Most problems trace back to a few oversights. Forgetting flooring thickness is a common one: new tile or added underlayment raises the sill and lowers the effective head. Measuring the finished opening instead of the rough opening is another, and it often leads to a frame that will not fit.
A rough opening cut too tight leaves no room for shims, so the frame cannot be adjusted to plumb. A head that ends up too low after a new finish floor, or a frame that is out of plane, will make the installation harder than it needs to be.
The fixes depend on the size of the error. You may be able to trim jamb legs within the allowed range, rebuild the header for more height, add lining to a slightly oversized opening, or order a custom size when the geometry will not cooperate. All of these are easier to handle before the door is hung.
Key takeaways
- Measure three ways and use the smallest. Check width at the top, middle, and bottom, and height at the left, middle, and right.
- Match your opening to the spec sheet, not to a remembered formula. Charts differ by material and product.
- Leave room for shims and account for floor build-up so the door does not bind later.
- Codes govern clear openings, not rough openings. IRC figures are US-specific; NBC-aligned guidance applies in India.
- Never assume a universal number. Confirm manufacturer specs and local requirements before you cut or order.
A well-measured opening is quiet work. Nobody notices it, which is the point. Take the extra time with a tape and a square, read the chart that came with the unit, and the door will do what a good door should: open, close, and stay out of the way.