Here’s a scenario that plays out in thousands of homes every year. You pick a tile from a display board at the store. You hold up three paint chips in your living room and go with the middle one. You order a sectional based on a photo and the dimensions listed online. Every decision seemed reasonable at the time.
Then the work is done, and the room is somehow not it. The tile that looked subtle on a 4-inch square is loud across a whole bathroom wall. The paint reads two shades darker than you expected. The sectional fits — technically — but now you sidestep around it every time you cross the room. Nothing failed. It just added up differently than you pictured.
A tile sample looks very different when it covers a whole wall. That gap between imagining a renovation and seeing one is where most renovation regret lives, and it’s exactly the gap that 3D rendering is good at closing.
Why Renovation Ideas Are So Hard to Imagine
Think about the tools most people actually use to plan a remodel. Saved images from Pinterest and Instagram. Showroom displays. Small material samples. A rough sketch, maybe from a designer. Verbal explanations from a contractor at a site visit. A 2D floor plan. Photos of other people’s finished projects.
Every one of these is useful. Not one of them shows the design in your house. That Pinterest kitchen had different light, different ceiling height, different proportions, and a professional stylist. The showroom is lit to flatter. Your floor plan is accurate and hard to read unless you work with drawings for a living.
So you end up approving a set of decisions you’ve never actually seen together. When a renovation involves layout changes, new finishes, custom furniture, lighting, flooring or exterior updates, 3D rendering for renovations can help homeowners preview the result before they commit to materials, contractors or construction work. The idea isn’t a pretty picture. It’s seeing your specific choices, in your specific rooms, before the money is spent.
What a Render Can Show Before Work Starts
A good renovation render puts everything in one place. The room layout and how the space is organized. Where the furniture lands and how much room is left to move. The wall colors at full scale. The flooring and tile as they’ll actually read across the whole surface. The lighting and the mood it creates. Windows and doors. Kitchen cabinets, bathroom fixtures, built-ins and storage.
It can also handle the outside — façade changes, exterior paint, siding, a new patio or garden update. And for a project where you’re weighing options, it can show before-and-after comparisons or two versions of the same room side by side, which is often the fastest way to settle an argument that’s been going in circles for weeks.
Kitchen Renovations
Kitchens are the highest-stakes room in most remodels. They cost the most per square foot, they involve plumbing and electrical and appliances, and you use them hard every single day.
A render lets you check the cabinet color across the full run rather than on a single door sample — which matters, because a color that reads warm on a small piece can go flat across twenty feet. It shows the countertop material against those cabinets, and the backsplash against both. You can see how the lighting works over the island and the prep areas, whether the appliance placement makes sense, and how much storage you’re actually getting.
The island is where visualization pays off most often. On a floor plan, an island looks like a rectangle with generous space around it. In a render, you can see whether it dominates the room, whether the dishwasher opens without hitting it, and whether two people can pass on either side. A beautiful kitchen still needs space to move, cook and clean, and that’s easier to judge in three dimensions than on paper.
Also worth checking: how the kitchen connects to wherever you eat, and whether the flooring transition between spaces works or looks like an afterthought.
Bathrooms and Compact Rooms
Small rooms are the easiest to overfill, and bathrooms are the classic case. Everything competes for the same few square feet, and once tile is set, changes are expensive and messy.
Visualization helps you test the tile combinations before ordering — how the floor and wall tiles work together, where the pattern lands, whether a bold choice reads as character or chaos. It shows the vanity at its real size, the mirror proportion, whether the shower glass opens up the space or closes it in. You can see the storage niches, the lighting around the mirror where you actually need it, and whether the whole thing feels calm or cramped.
The same applies to any compact room — a small guest bedroom, a home office carved out of a corner, a mudroom. These spaces have no margin for error, and seeing them furnished at real scale catches the problems while they’re still fixable.
Testing Colors, Flooring and Materials
Materials are sneaky, and the errors are remarkably consistent from project to project.
Paint reads darker on a wall than on a chip, and different again depending on your light. A tile pattern that looked charming in a small sample can feel busy across a full floor. Flooring that seemed like a safe neutral can clash badly with the furniture you already own. A wood tone can go orange under warm bulbs. And lighting changes everything — the same material looks like two different products under daylight and under evening lamps.
Outside, the risks are similar. Exterior paint or cladding that suits the color card may not suit your house’s style, its roof color, or the homes on either side of it. Curb appeal decisions are highly visible and expensive to redo.
Seeing these choices rendered together, in context, catches the clashes early. Changing a paint color on screen is easier than repainting a finished room.
Layouts and Daily Comfort
Here’s the part that gets skipped and shouldn’t: a renovation has to work, not just look good. The prettiest room in the world becomes annoying if the daily reality of using it is awkward.
Look at the walking paths through each room. Whether the sofa you’re considering leaves a clear route. Whether the dining chairs pull out without hitting the wall. Which way the doors swing and what they collide with. How movement flows in the kitchen between the sink, the stove and the refrigerator. Whether the storage is actually reachable. Whether the bedroom furniture fits with space to walk on both sides of the bed. Where the home office goes and whether it’s out of the household traffic.
If you’re going open-plan, this matters even more. Open layouts look wonderfully spacious on a plan and can turn out to have nowhere to anchor furniture, no quiet corner, and no wall for the TV. Seeing it laid out in three dimensions tells you a lot before you take down a wall you can’t put back.
Getting Family and Contractors on the Same Page
A renovation is rarely one person’s project, and this is where a render quietly earns its keep.
Think about everyone forming a mental picture: you, your partner, maybe the kids with opinions about their rooms, a designer if you’ve hired one, the general contractor, the carpenter, the electrician, the plumber, the painter. Each one is imagining something slightly different, and each one is nodding along in meetings.
A visualization studio such as ArchiCGI can be useful when a renovation idea needs to be turned into realistic images that homeowners, designers and contractors can review before execution. A render helps everyone discuss the same renovation, not five different imagined versions. It also makes revisions cheap — if your partner hates the cabinet color, you find out now instead of at installation, and changing it costs an email rather than a restocking fee and two weeks of delay.
For contractor conversations specifically, a visual is far more useful than a description. It shows what finish goes where, where fixtures land, and what you actually expect the finished room to look like.
Exterior Upgrades and Additions
Exterior projects deserve just as much visual planning as interiors, partly because they’re so public and partly because the whole house has to hold together visually.
Renders help with new windows and whether they suit the proportions of the façade. Front door changes and color. Exterior paint or new siding and cladding. A garage extension, a sunroom, a room addition and whether it looks integrated or bolted on. Patio flooring and how it relates to the house materials. Garden seating areas and outdoor lighting.
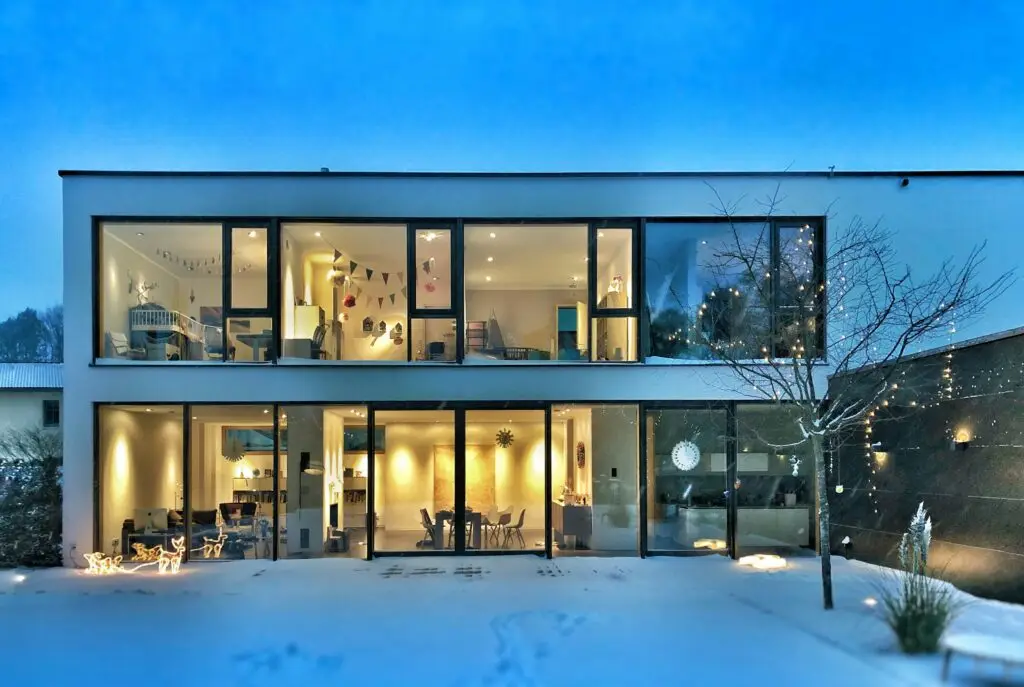
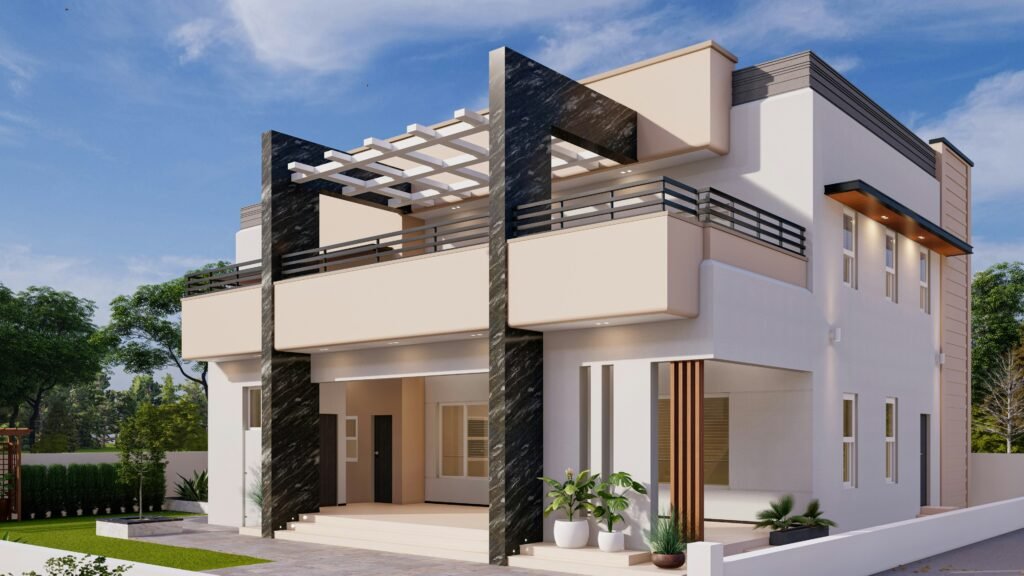
The critical thing an exterior render shows that a sample never can is the whole elevation at once. A siding color chosen in isolation might clash with the roof, the trim, or the stonework you’re keeping. An addition might look fine in a plan and read as out of proportion from the street. Seeing the complete façade before you commit prevents the version of curb appeal where every element is nice and the sum is wrong.
What a Render Cannot Replace
Being straight about this matters. A render is a planning tool and not a construction document.
It doesn’t replace your contractor’s measurements taken on site. It doesn’t replace structural review, and any wall you’re thinking about removing needs a professional opinion before anything happens. It doesn’t replace permits where your project requires them, or proper electrical and plumbing planning, or skilled waterproofing. It’s not a substitute for handling physical material samples in your own daylight, because screens shift color and no render conveys texture. It doesn’t replace a site inspection, professional supervision, or a real budget quote.
A render cannot replace a contractor, but it can make the conversation clearer.
Mistakes a Render Catches Early
The recurring ones show up on a visual long before they show up in your house. Furniture that’s too large for the room. A kitchen island that crowds the space. A wall color that’s too dark for the light you have. A tile pattern that’s too busy. Lighting that’s harsh or leaves dark corners. Not enough storage, planned too late. A hallway pinched too narrow by new built-ins. A door that swings into something. An exterior color that fights the roof. Patio material that doesn’t suit the house. A bathroom that’s crowded once every fixture is in. And an open-plan layout that turns out to be less practical than the closed rooms it replaced.
What to Prepare Before Asking for a Render
To get something genuinely useful back, gather your information first:
- Room dimensions and ceiling height
- Photos or a video walkthrough of the existing space
- A floor plan if you have one
- Your renovation goals, written plainly
- Style references and inspiration images
- A furniture list, including pieces you’re keeping
- Material samples or links to the specific products
- Lighting preferences
- Your paint, flooring and tile options
- Anything that must stay as it is
- Notes or constraints from your contractor
- Your budget level, honestly
- What the render is for — family approval, contractor discussion, material choices, or overall planning
A Quick Homeowner Checklist
Before you sign off and let work begin:
- Can you clearly picture the finished room?
- Are the colors and materials specified, not just described?
- Is the furniture shown at realistic size?
- Is there enough room to move through comfortably?
- Is the lighting planned for both day and evening?
- Is there enough storage, and is it reachable?
- Have you seen the real physical samples in daylight?
- Has your contractor confirmed the measurements on site?
- Are the structural, electrical and plumbing items handled by professionals?
- Is there anything you’d still change?
A 3D render isn’t just a nice picture to look at while you wait for the work to start. For a renovation, it’s the point where a stack of separate decisions becomes something you can actually evaluate as a whole — and where you find out whether they add up to the room you had in mind. The goal is not a perfect picture. The goal is a home that works, and knowing that before the demo crew shows up is worth a great deal more than finding out afterward.