Outdoor lighting is often treated as one of the final details in a home improvement project. Homeowners choose the paving, build the deck, complete the landscaping, paint the exterior, and only then begin thinking about where the lights should go.
Unfortunately, that order can create unnecessary work. Once a new patio has been poured or a pathway has been finished, adding cables, mounting points, transformers, or hidden lighting can become more complicated. A fixture that could have been integrated cleanly during construction may end up requiring visible wiring or additional drilling later.
The better approach is to plan outdoor lighting while the exterior project is still being designed. You do not necessarily need to purchase every fixture immediately, but deciding where light will be needed can make the finished space safer, cleaner, and easier to maintain.
Planning lighting before paving, landscaping, and exterior finishes are complete can make the final installation cleaner and more practical.
1. Walk the Property After Dark Before You Design Anything
Daylight hides many outdoor lighting problems.
A path that looks obvious in the afternoon may disappear into shadow after sunset. A small step between a patio and lawn may become difficult to identify. A side gate may feel much darker than expected, and an outdoor dining area may receive almost no useful light from the existing wall fixture.
Before construction begins, walk around the property after dark and make notes.
Pay particular attention to:
- Front and side entrances
- Steps and changes in elevation
- Driveway edges
- Paths between the house and garden
- Patio and deck seating areas
- Outdoor cooking or preparation areas
- Gates, storage areas, and bins
- Trees, walls, or architectural features worth highlighting
This simple nighttime inspection gives you a better starting point than choosing fixtures from a catalogue first.
2. Divide the Exterior Into Functional Zones
Not every part of a yard needs the same amount or type of light.
It helps to divide the property into several functional zones before deciding where fixtures belong.
Arrival areas include the driveway, house number, front walkway, porch, and entrance. These spaces should clearly communicate where visitors need to go.
Movement areas include steps, paths, side yards, gates, and transitions between different surfaces. Lighting here should support visibility without unnecessary glare.
Living areas include patios, decks, outdoor kitchens, dining tables, and seating. These locations usually benefit from softer layered lighting rather than very bright security-style illumination.
Landscape areas include trees, planting beds, walls, fountains, and other features that may deserve selective accent lighting.
Once these zones are identified, it becomes easier to determine which fixtures actually need wiring and which areas may not need permanent illumination at all.
3. Plan Cable Routes Before Paving Is Installed
This is one of the most important reasons to think about lighting early.
If a new path, driveway edge, retaining wall, or patio is being constructed, decide whether electrical cables may eventually need to cross or follow that area.
Running appropriate conduit or planning cable routes before surfaces are finished can prevent homeowners from having to disturb new paving later.
The exact electrical requirements depend on the system, voltage, location, and local regulations, so permanent outdoor electrical work should be planned appropriately and handled by a qualified professional where required.
Even if you have not chosen the final fixture, knowing that a path will require several lighting points can influence the construction sequence.
4. Choose Fixtures According to Their Job
One outdoor fixture cannot solve every lighting problem.
Wall-mounted lights work naturally around doors, garages, porches, and façades. Path lights provide illumination closer to the ground. Bollard lights can define larger walkways and driveways. Spotlights and in-ground fixtures can highlight plants or architectural details, while step lights can make changes in level easier to identify.
When comparing a broader selection of Outdoor Lighting, it is more useful to compare fixture types according to their intended location and beam direction than to choose one style and repeat it everywhere.
Different fixtures can still look coordinated. Similar finishes, proportions, and light colors can connect them visually without requiring an exact match.
5. Think About Mounting Points Before Walls Are Finished
If an exterior renovation includes new siding, stucco, stone veneer, cladding, or porch construction, identify likely wall-light positions before the final surfaces are complete.
Consider:
- The height of the fixture
- Its relationship to doors and windows
- Where the electrical connection will emerge
- Whether the mounting surface will be flat
- How far the fixture projects from the wall
- Whether roof overhangs or columns affect light distribution
A little planning can prevent awkward situations where a light ends up too close to trim, partially blocked by a downpipe, or positioned off-center because the electrical box was installed before the final fixture dimensions were considered.
6. Build Lighting Into Steps Instead of Adding It Later
New steps are an ideal example of where early lighting planning pays off.
Once masonry, timber, or concrete steps are complete, integrating lighting cleanly can become much more difficult.
If the design includes recessed step lights, lighting beneath stair nosings, or fixtures built into nearby retaining walls, coordinate the locations before construction is finalized.
The objective should be to make changes in elevation understandable without putting a bright light directly into someone’s line of sight.
Test the effect from both directions. A fixture that is comfortable when walking up the stairs may produce glare when someone approaches from above.
7. Do Not Overlight the Path
Installing outdoor lighting during a renovation does not mean filling every available space with fixtures.
Pathways often need far fewer lights than homeowners initially expect.
Instead of positioning fixtures directly opposite each other at identical intervals, consider curves, steps, intersections, planting, and changes in direction. In informal landscapes, staggered placement can provide enough guidance while looking more natural.
The purpose of path lighting is to help people understand where they are walking, not to create an uninterrupted strip of brightness from one end of the yard to the other.
8. Design the Patio Like an Outdoor Room
A patio should not be illuminated like a driveway.
People may spend several hours sitting, eating, reading, or talking there, so comfort becomes more important than maximum brightness.
Think about lighting at several heights.
Wall fixtures near the house can provide general illumination. Focused task lighting may be useful around a grill or outdoor kitchen. Lower landscape lighting can reveal planting beyond the patio, while smaller decorative sources can add softer light near seating.
This layered approach also gives homeowners more flexibility. You might use brighter task lighting while cooking and leave only the softer sources on later in the evening.
9. Give Outdoor Kitchens Their Own Task Lighting
Outdoor cooking areas are easy to underlight.
A decorative wall fixture several feet away may create atmosphere but still leave the work surface in shadow when someone stands between the light and the counter.
Plan focused illumination for areas where food is cut, cooked, served, or cleaned.
Think about where the person will stand and make sure their own body will not block the primary light source.
Task lighting can operate separately from the rest of the patio so it does not need to stay at full brightness after cooking is finished.
10. Plan Separate Control Zones
One switch controlling the entire yard is rarely the most practical arrangement.
The front entrance may need lighting every evening, while the patio only needs illumination when it is being used. Landscape accents may turn off earlier, while a side entrance might rely on motion detection.
Where practical, think about separating areas into logical control zones:
- Front entrance and approach
- Pathways and steps
- Patio and entertainment areas
- Outdoor kitchen
- Landscape accents
- Garage and service areas
Timers, photocells, motion sensors, dimming, and compatible smart controls can then be applied according to how each area is actually used.
11. Consider the View From Inside the House
Outdoor lighting also affects the interior.
A fixture that appears subtle from the garden may shine directly into a bedroom window. Conversely, a strategically illuminated tree or wall can dramatically improve the nighttime view from a living room.
Before finalizing positions, stand near important windows and look outward.
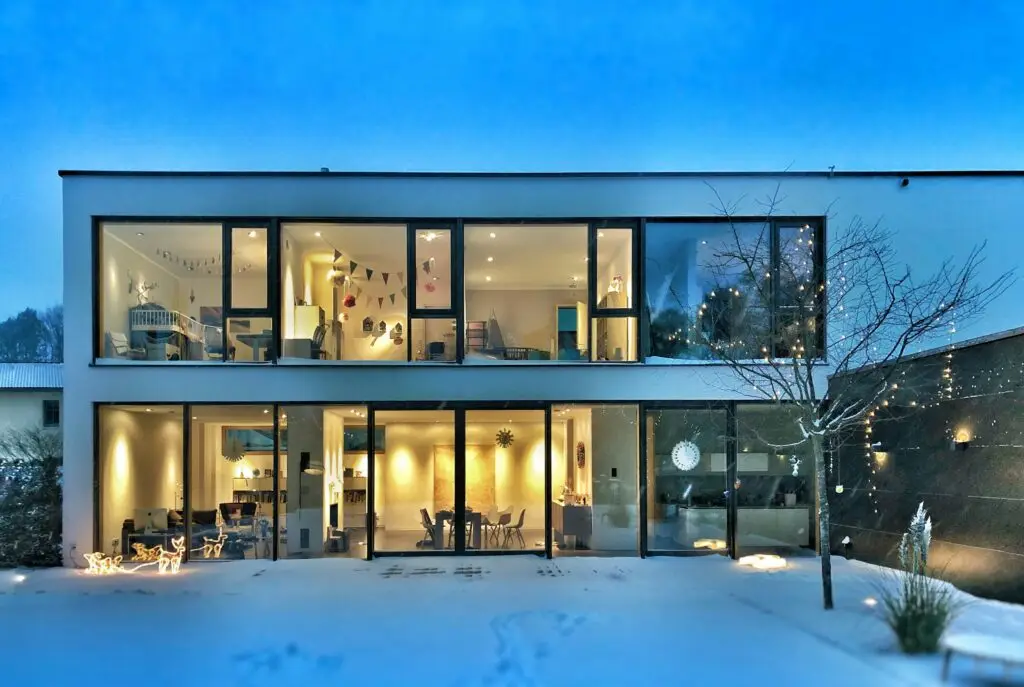
In rooms with large areas of glass, a little landscape lighting can keep the exterior visually connected to the interior after sunset instead of turning every window into a dark reflective surface.
12. Coordinate the Lights With Exterior Materials
Lighting fixtures remain visible during daylight hours, so they should be treated as part of the exterior material palette.
Dark metal fixtures may relate naturally to black-framed windows, railings, gates, or door hardware. Warmer metal finishes can work with brick, timber, and natural stone. Simple geometric forms often complement contemporary siding and concrete.
Homeowners browsing suppliers such as Dazuma Lighting can use broader product collections to compare wall, pathway, landscape, post, and other fixture formats, but the final choice should still be based on scale, environment, installation requirements, and how the fixture relates to the renovation materials.
Exact matching is rarely necessary. A consistent visual language is usually enough.
13. Leave Room for Plants to Grow
Landscape plans often show plants at installation size rather than mature size.
A fixture positioned beside a young shrub may be completely covered after several growing seasons. Tree branches can eventually interfere with uplighting, while ornamental grasses may block lower path lights.
Think about mature plant dimensions when establishing fixture positions.
Lights should also remain accessible for cleaning, adjustment, and maintenance without requiring major pruning every time someone needs to reach them.
14. Use Darkness Deliberately
A professional-looking exterior lighting plan includes darkness as part of the design.
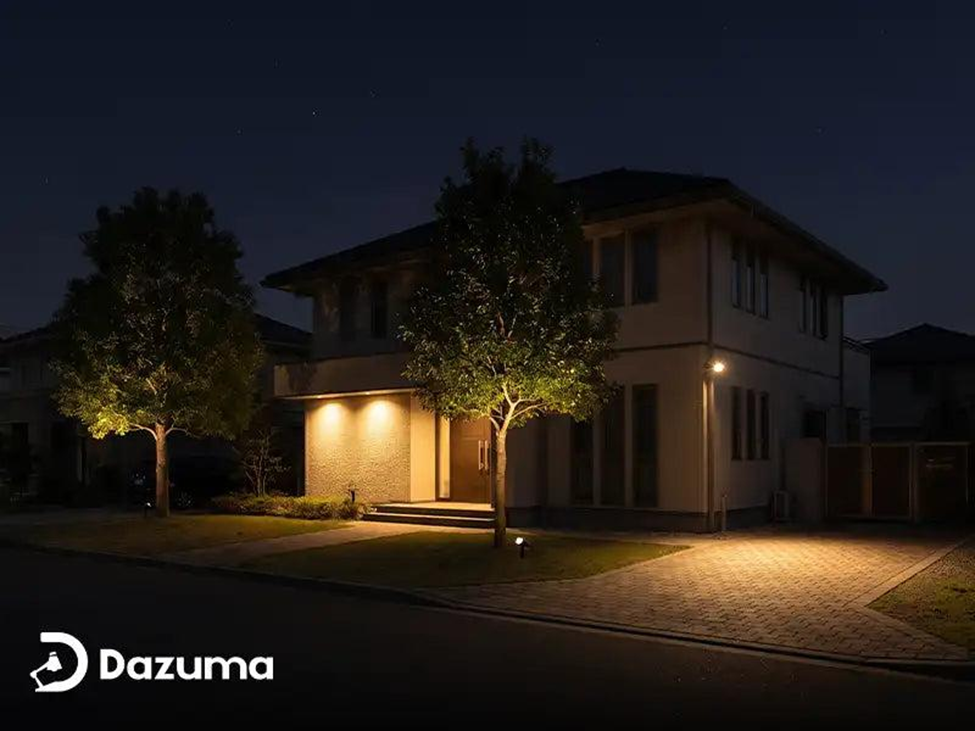
If the façade, lawn, trees, paths, patio, and planting beds all receive equal illumination, the property loses visual depth.
Instead, establish priorities.
The entrance may be slightly brighter because it is a destination. Paths can remain softer. One tree may become a focal point while surrounding planting remains in shadow.
This contrast can make a smaller number of fixtures feel much more effective.
15. Test Everything at Night Before Calling the Project Finished
Exterior lighting cannot be evaluated properly in daylight.
Once the fixtures are operational, walk the property again after sunset. Look for glare, dark gaps along important routes, light entering windows, and unnecessary spill beyond the intended area.
Check the property from the street and from neighboring viewpoints where possible.
Adjustable landscape fixtures should be aimed at night rather than relying on the original daytime position. Sometimes a small change in angle is enough to improve the entire effect.
Final Thoughts
The easiest time to think about outdoor lighting is before a patio, pathway, deck, wall, or landscape renovation is completely finished.
Planning early does not mean purchasing dozens of fixtures before construction begins. It means identifying where light will be useful, reserving appropriate mounting locations, considering cable routes, and giving each area a clear purpose.
Start with safe movement and frequently used spaces. Add task lighting where activities require it, use landscape accents selectively, and create separate controls where they make sense.
Most importantly, do not assume a successful exterior has to be brightly illuminated. A thoughtful plan usually relies on fewer, better-positioned lights supported by deliberate areas of shadow.
When lighting is considered alongside paving, landscaping, architecture, and electrical planning from the beginning, the finished exterior tends to look cleaner, work better, and require fewer compromises later.